Homemade Hummus

I love hummus! I go though a family sized dish of Sabra hummus, either classic (plain) or red pepper, every two weeks at about $5 each. After awhile that gets really pricey so I started looking into making my own! The recipe I had sounded easy enough and bonus I had everything at home except the tahini!

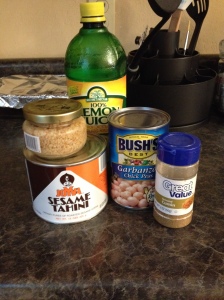
Ingredients

Ingredients

Ingredients


One 15-ounce can (425 grams) chickpeas, also called garbanzo beans

1/4 cup (59 ml) fresh lemon juice, about 1 large lemon

1/4 cup (59 ml) tahini (we used Krinos)

Half of a large garlic clove, minced

2 tablespoons olive oil, plus more for serving

1/2 to 1 teaspoon kosher salt, depending on taste

1/2 teaspoon ground cumin

water

First you take your tahini and lemon juice and blend it in your food processor for about 30 seconds. Then scrape the sides and bottom of the bowl then process for another 30 seconds. Next add garlic, olive oil, cumin, and salt to the bowl and blend another 30 seconds. Open the canned chickpeas rinse then drain before adding them to the bowl and process for 1 minute.  Stop and scrape the sides and bottom of the bowl then process for another 1-2 minutes. Add a bit of water if the hummus is to thick of if there are chunks of chickpeas while processing. Once it has reached a nice smooth consistency you are done!

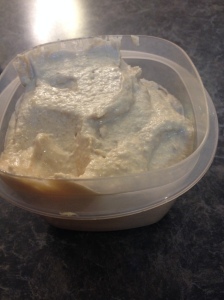
My first batch is done!

My first batch is done!

Tips:

#1 I didn’t like how the cumin tasted so in my second batch I halved the amount and it came out so yummy!

#2 By  my second batch the finished product was a lot smoother thanks to a friend’s feedback. They said “with hummus process it until you think it is done…then process for another minute” either way you get a wonderful smooth product.

#3 I didn’t have a garlic clove on hand but I had some jarred minced garlic in the fridge so I used a tablespoon of that instead.

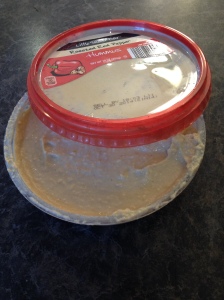
Before I made this I bough some generic off brand hummus because it was cheaper then Sabra. Well it was nasty and I was out the $2 but I washed out the bowl and now I store my hummus in it! That way everyone knows where the hummus is instead of looking at a tupperware bowl and going “What is this??????” lol.

reusing a dish

reusing a dish

General Cost:

Chickpeas $0.74 ( Market Pantry brand found at Target)

Tahini (I used Joyva brand) $6.24

Garlic clove $0.50

Lemon Juice $1.79

Total: $9.27 For about 7 batches or $1.32 instead of $5 like name brand hummus!

The tahini can had 15 oz and 1/4= 2 oz so you will get about 7 batches from the 15oz can or $0.89 a batch! Another way to reduce costs is to use what you have on hand in the fridge and pantry!
 

Food (and life) Saving Tips

Imagine you’re cooking your favorite meal and halfway through it you realize you don’t have the spices for it or another important ingredient. Nothing is more frustrating right? Well thanks to Pinterest I have found so many neat tricks that have saved me a lot of time, money, and most important frustration!

Seasonings

I was halfway through making tacos one night when I realized I didn’t have any taco seasoning packets! I was also broke so I couldn’t just run out and buy one! Thankfully I remembered I had pinned some seasoning blends so I went to my computer and found this lifesaver!

Taco Seasoning:
1 tbsp chili powder
1/4 tsp garlic powder
1/4 tsp onion powder
1/4 tsp crushed red pepper flakes
1/4 tsp dried oregano
1/2 tsp paprika
1 1/2 tsp ground cumin
1 tsp sea salt
1 tsp black pepper
mix and use! When I made this I omitted the red pepper flakes since I don’t like it to spicy. Also when using this put a little in at a time then taste it before adding more. I didn’t do this and my meat came out really spicy so I had to cut it down with water and more meat before we could eat it.
Pumpkin Pie Spice Blend:

I was making the pumpkin pie steel cut oats I realized that it called for pumpkin spice blend and I didn’t have any! S0 again I dug through my pins and found a great helping recipe.

1 tsp ground cinnamon

1/4 tsp ground nutmeg

1/4 tsp ground ginger

1/8 tsp ground cloves

mix together and use!

The best thing about these blends is the fact that they have no MSG, preservatives, or other additives! I like knowing what is in my food and I love how with a few simple spices you can save money by not buying packets at the store!

Freezing

Ever make something only to have a TON of it and no idea what to do with it all? I always freeze items for quick and tasty meals but I found some great tips that made this process a bit easier.

#1 Use a muffin tin!

Oatmeal in a muffin tin

Oatmeal in a muffin tin

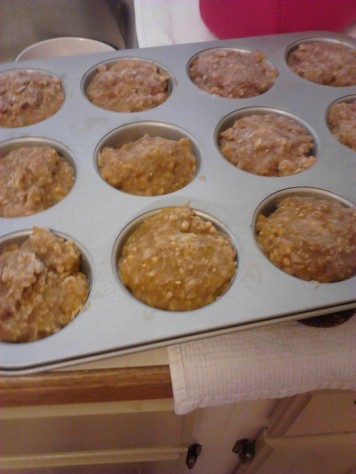
(the pin http://highermiles.blogspot.com/2012/03/friday-food-oatmeal-from-freezer.html) After I made the pumpkin pie steel cut oats (post here https://aradiasilvermoon.wordpress.com/2013/09/19/pumpkin-pie-steel-cut-oats/) I took a 1/2 cup measuring cup and filled the muffin tin with the oatmeal then I put it in the freezer. After they froze I used a knife to gently loosen them so they popped out and I put them in the baggie to save for later!

bag of oatmeal!

bag of oatmeal!

You can also use your freezer to make yummy desserts!

The pin: http://www.funelf.net/ice-tray-strawberries-chocolate-go/

Slice strawberries in half, place in an ice cube tray, pour melted chocolate over,and freeze! I would spray the tray with a bit of non stick spray so you can pop them all out then break apart!

Misc Tips: 

#1: Use your muffin tin to poach eggs!

Poached eggs

Poached eggs

Crack the eggs into a muffin tin and cook at 350 degrees for 10-15 minutes! You can then freeze them like this then heat up for breakfast or make sandwiches out of them and freeze those!

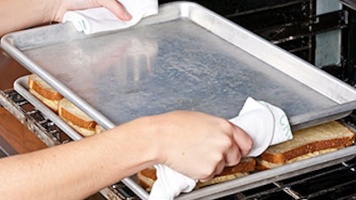
#2 Use 2 cookie sheets to make crispy, baked sandwiches!

Perfect grilled sandwiches

Perfect grilled sandwiches

Hopefully these tips will help you in your cooking future!!

Happy Pinning!

Skip Grocery Shopping This Week part 2

In this post: https://aradiasilvermoon.wordpress.com/2013/08/26/skip-grocery-shopping-this-week/ I organized my cupboards thanks to some wonderful tips posted by The Budget Diet blog. Well since it said it would be a week long project I decided to clean out and organize my deep freezer!

What a mess!!

What a mess!!


As you can see it has been awhile since it has been defrosted or organized! Whenever I wanted to find something I had to dig around and move stuff which, at times, proved to be quite hazardous to my feet. Ever dropped a frozen package of hot dogs on top of your feet?? OUCH!!! So to start I took everything out and placed it on the floor of my utility room and I started throwing out old stuff. I found several pints of frozen yogurt that when I tasted them were gritty and freezer burned…nasty!…so I tossed them. I also tossed some old chili I had made who knows when and a few other waaaaaaaaaaay out of date things! Then I unplugged the freezer,  boiled multiple pans of water, placed them in the freezer and closed the door. When everything was thawed out hours later I wiped out all the water and lingering frost (my deep freezer is strategically placed over the drain in the utility room so when I defrost it there isn’t much mess on the floor.) and started putting things back in a more organized manner.

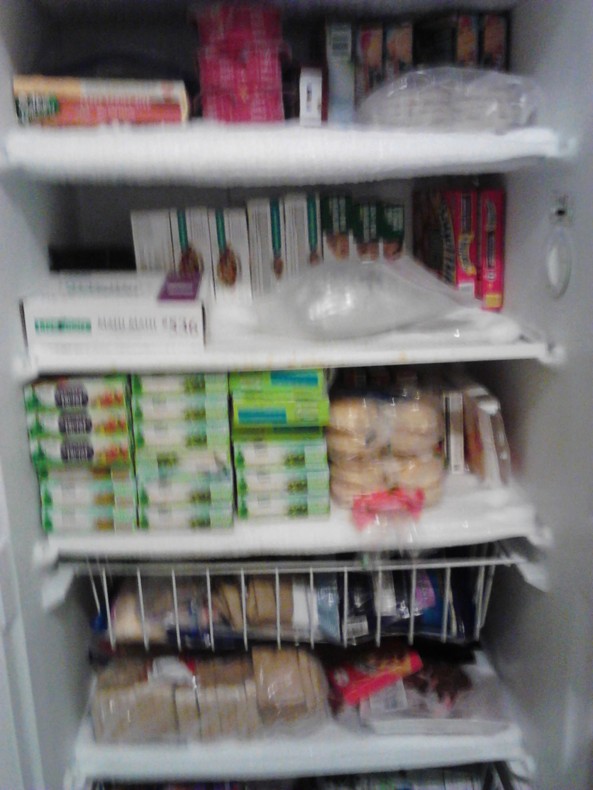
When I open the door...

When I open the door…

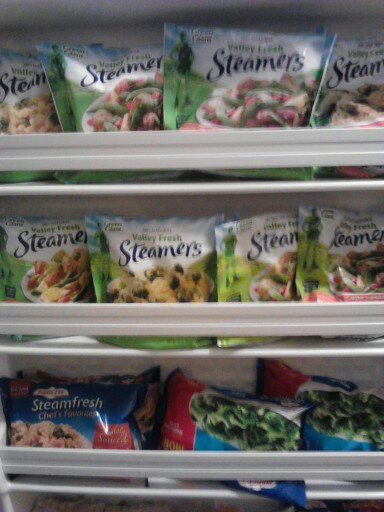
Easy to see what I have!

Easy to see what I have!

Nice and organized!

Nice and organized!


Now I can see what I have when I open the door without having to shift and move things! Yay no more bruised feet!! Also the frost was so bad that I found a package of tortillas buried under it as the defrosting started!

Tips from me:

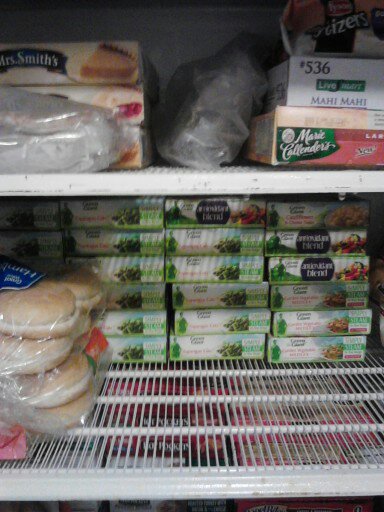
#1 When organizing your freezer place the boxed items in a way that you can clearly see what is inside each ones. Now when I go for veggies I can see what each flavor is the second I open the freezer this make is a lot easier to locate what you need.

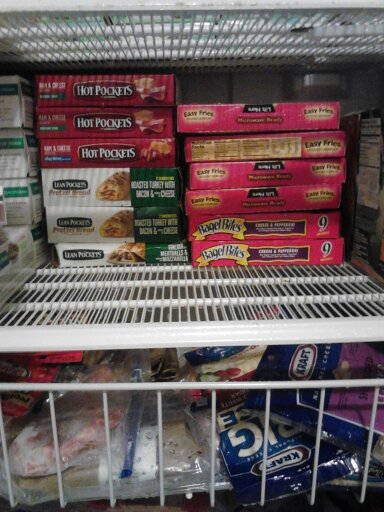
#2 Group by like items (i.e veggies) or brand (i.e Bird’s Eye or Green Giant) so you always know which self has what. My top shelf contains misc boxed frozen items, my second shelf has all the boxed snack food (ice cream bars, hot pockets, easy fries etc.), one basket holds all my frozen “loose” meats like hot dogs, individually wrapped pork chops and steaks etc along with my cheese, under that is all the frozen meat on a shelf (like packages of roast, chicken breasts,  lunch meats etc.), and the bottom basket holds my frozen creamers and fresh takes.

#3 Like she stated in the blog if you come across anything you have no idea what to with just do a quick internet/pinterest search and you can find lots of recipes!

So now that I can clearly see what I have I cook for a whole other week just using what I have on hand…apparently we’re going to be eating a lot of asparagus lol!!

Happy Pinning!