My boyfriend likes to eat these sausge rolls from a local bakery and/or sausage cheese biscuits from McDonald’s. Only problem is they cost a lot of money in the long run so I thought of a way to make portable breakfast pockets at home!
Ingredients:
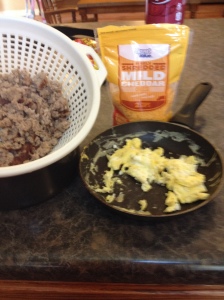
Filling Ingredients (biscuits not pictured)
1 roll 10ct biscuits (I used Best Choice Texas Style)
cooked, crumbled up sausage
shredded cheese
scrambled eggs (optional)
Line a cookie sheet with parchment paper and press the biscuits down flat.
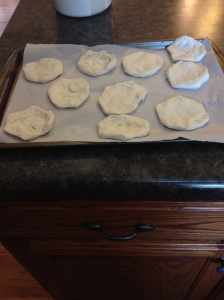
Pressed dough
The I topped half of the dough with a mixture of sausage, cheese, and/or eggs.
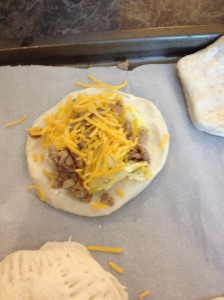
Filled dough
Once you’ve filled them enough top with the other dough circles and seal them up.
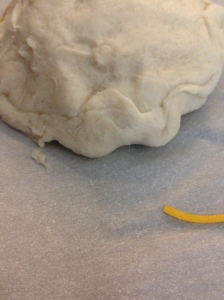
Rolled edges
First I rolled the edges of the bottom dough up and over onto the top layer.
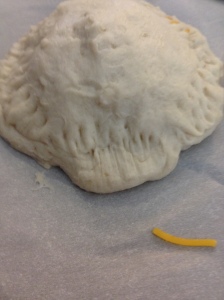
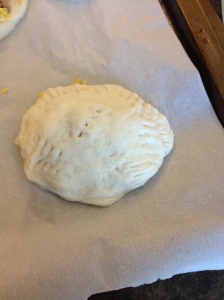
Crimped edges
Use fork to crimp all around the rolled edges making sure they are sealed up tight. Pierce the tops of the rolls (to vent steam if needed) and then spread with butter and top with salt.
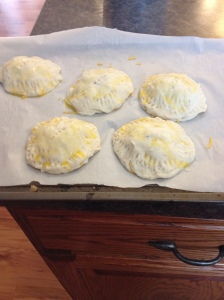
Brushed with butter and a sprinkle of salt.
Poke holes
I then baked them according to the biscuit package.

Finished and ready to eat!
Alterations/Tips
#1 I made these a few weeks back and when they came out the biscuits puffed up quite a bit more then I expected since I had pressed them flat.
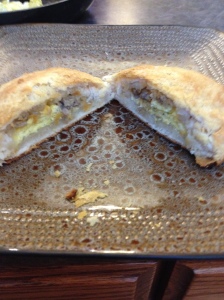
Yummy!
Since they puffed up then the ratio of bread to filling was off and there was barely any filling. So next time I make these I will use a rolling pin and roll the dough out until it’s 1/8 inch thick, or as thin as I can get them without breaking the dough.
#2 I also plan on using cooked sausage patties instead of crumbled sausage since it will fill it up easier. My boyfriend likes those pre-made banquet sausage patties so I will use those.
#3 You can use any filling you want like ham, eggs, cheese, hash browns, bacon…the possibilities are endless!
My boyfriend said these were good and I plan on making them for his breakfast so he can eat on the go and save us money in the long run!


