Almost Homemade Turkey Italian Sausage with Chunky Sauce

To me almost homemade means taking pre-made items from the store and making a delicious home cooked meal. Many times over I have gotten items free with my coupons and will use them to make delicious meals. 

Ingredients for 2 Italian Sausages

1/2 package Bird’s Eye peppers and onions (I picked out the onions since I hate them)

2 Jennie O I Turkey Italian Sausage 

1 cup pasta sauce

1/2 package fresh sliced mushrooms

If you want to make the whole package of sausages then simply double the recipe! 

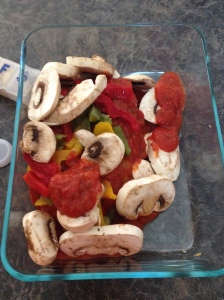
I thawed out the peppers and onions before hand to speed up the cooking time. I browned the sausages in a pan before placing them in a glass baking dish. I put the mushrooms, peppers and onions, and pasta sauce on top of the sausages.

Sausage, vegetables, and sauce.

Sausage, vegetables, and sauce.

I baked at 350 degrees until the sausages were cooked through, making sure to check occasionally to stir the veggies and sauce so the veggies didn’t get dried out. Add more sauce if needed to keep everything juicy and tender. 

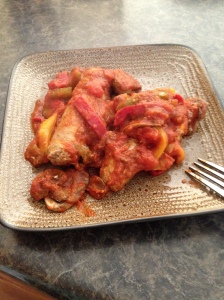
Finished and ready to eat!

Finished and ready to eat!

After they were done I simply put them on a plate to eat as and entree. However you can cut them put and pour over noodles, spaghetti squash, zucchini “noodles” etc.

Tips:

#1 You can use fresh peppers if you wish or any vegetables you want/have on hand. I like to use things already in the fridge, freezer, and pantry to decrease costs. 

#2 You can use any Italian sausage you want if you do not like turkey. 

#3 I am sorry that I don’t have appropriate cook times but the 3 times I have made this it has taken different amounts of time. I simply check and stir everything up until it is fully cooked.
 

Almost Homemade Roast Beef Sandwiches

My sister once brought up almost homemade when I was using a frozen meal and jazzing it up to serve at a family reunion. One night I was wanting some hot roast beef sandwiches like these: Hot Roast Beef Sandwiches. However I didn’t have any roast cooking in the crock pot but then I came up with an idea.

Ingredients

1 package Oscar Mayer sliced roast beef lunch meat

1 package fresh mushrooms

1 sliced onion, I used about half an onion

1 package onion soup mix

sliced provolone cheese

hoagie rolls

Onion soup mix

Onion soup mix

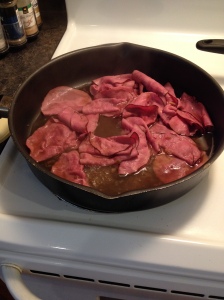
Fix the envelope of onion soup mix as directed then add half of that to a skillet then add the roast beef.

Simmering roast beef with onion soup mix.

Simmering roast beef with onion soup mix.

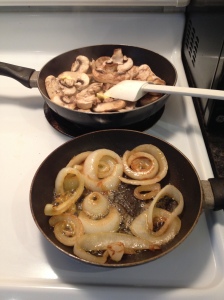
This allows the roast beef to heat up without drying it out and it gives it some flavor. While the beef heats up place the sliced mushrooms in a skillet with butter and place the onions in another skillet with butter.

caramelizing the onions and sauteing the mushrooms.

caramelizing the onions and sauteing the mushrooms.

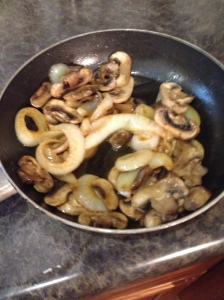
Once the onions were perfectly caramelized and the mushrooms sauteed I mixed them together.

mushrooms and onions.

mushrooms and onions.

I used the skillet that held the onions and heated it back up adding a bit more butter. I the laid the sliced rolls face down and slightly toasted them once at a time till all were crispy and hot.

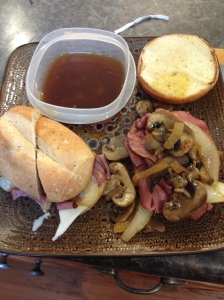
After that it was simply a matter of arranging the sandwiches with juicy layers of meat, onions and mushrooms, and cheese on top of those crispy rolls. I split the remaining onion soup mix into small bowls to use as a dip.

Almost Homemade Roast Beef

ready to eat!

I call this almost homemade since I bought the meat instead of cooking my own. They turned out delicious, not as good as with homemade roast beef, but still tasty and they satisfied my cravings! These cooked in less then thirty minutes

Tips:

#1 you can add anything you want to those sandwiches like sauteed green bell peppers or anything else your mind can come up with.

#2 You can use any lunch meat you want from ham to turkey to chicken breast…the possibilities are endless! I may try ham with sharp cheddar cheese next time I bet it will be just as delicious!

I also like this because it lets me use up the odds and ends in the fridge. All I had to buy was the bread since I had gotten the meat on sale and the mushrooms and onions were starting to get old….I love using up things on hand instead of tossing money in the trash by wasting food.

Homemade Chicken Noodle Soup

I have said it before and I will say it again….I hate wasting things and will reuse anything if it is possible. So once again I had a rotisserie chicken for dinner (this was made awhile back) and I saved the leftovers for soup!

Ingredients

Chicken still on the bone (could be leftover chicken or bone in split chicken breast or a whole chicken)

1 bag frozen egg noodles

1 bag frozen peas and carrots

1 bay leaf

salt and pepper

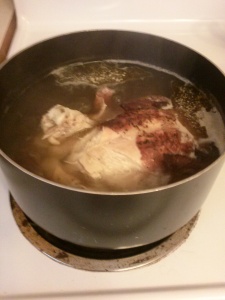
First I boiled the chicken all day until I had the meat slipping off the bones and a flavorful stock.

Boiling leftover chicken

Boiling leftover chicken

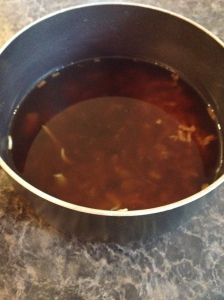
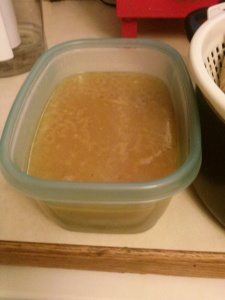
Homemade stock

Homemade stock


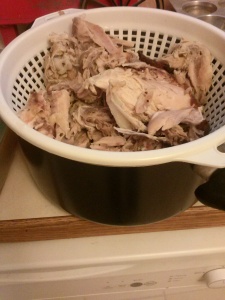
I then carefully poured the stock back into the pan and put it on to boil while I de-boned the chicken; putting aside the meat and tossing the bones.


De-boning leftover chicken

De-boning leftover chicken

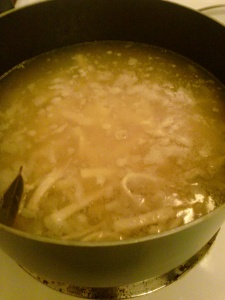
Once the stock was boiling I added the frozen egg noodles and the bay leaf along with seasoning it to taste.

Broth ready to boil noodles.

Broth ready to boil noodles.

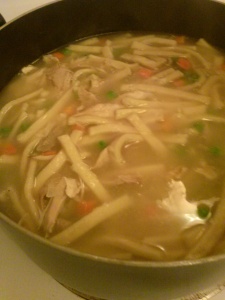
Once the egg noodles were partly done I added the frozen peas and carrots to the broth and let it simmer. Finally I added the chicken and let it simmer a bit longer to heat up the chicken pieces.

Finished soup

Finished soup

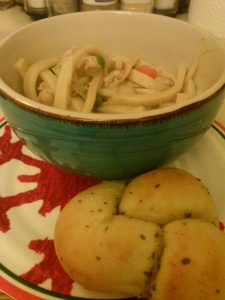
Once the soup was done I turned off the burner and covered it up to keep warm while I baked some bread for dinner! I made these yummy garlic knots I found at the grocery store but next time I will make the 1 hour dinner rolls with a recipe I found!

Ready to eat!

Ready to eat!

Hope you like it! Happy Pinning!!

Homemade Chocolate Frosting

One day I was baking a cake when I realized that I had no store bought frosting on hand! So after a quick scan in my cupboards I found powdered sugar and cocoa powder that I had bought for holiday baking. So  a quick search and I found a simple recipe for chocolate frosting!

Ingredients:

3 cups powdered sugar

3/4 cup unsweetened cocoa powder

1 stick unsalted butter

1/4 cup milk

1/4 teaspoon vanilla

The inspiration: http://www.simplyscratch.com/2010/07/homemade-chocolate-frosting.html

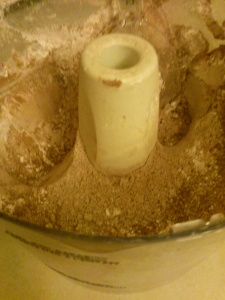
Cocoa powder and powdered sugar blended together.

Cocoa powder and powdered sugar blended together.

Sift sugar and cocoa powder together in a bowl then in another bowl cream together the butter and vanilla. Add a cup of the cocoa sugar mix to the butter then add a bit of milk then more of the sugar coca mix. Keep mixing the sugar cocoa and milk until you get the desired consistency.

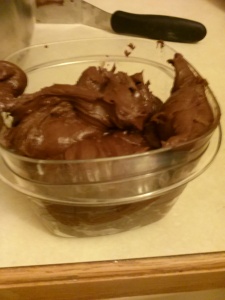
Finished frosting!

Finished frosting!

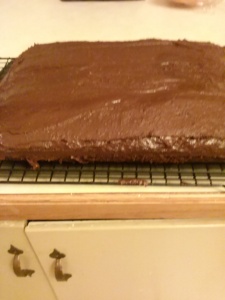
Then you use the frosting!! I spread mine over a sheet cake and it was delicious!!

cake ready to eat!

cake ready to eat!

Tips from me:

#1 I didn’t have a sifter to mix the sugar and cocoa powder so I added each to my food processor and pulsed it for a bit until it was blended!

#2 For thicker frosting use less milk and for thinner frosting, like a glaze, use more milk.

#3 Before you go and buy anything at the store look in your pantry! I am big on reusing items and I used up the rest of the cocoa powder and powdered sugar that I had purchased for Christmas cookies!

I liked how easy and delicious this frosting is! I have been using it ever since for all my cakes, brownies, and cupcakes! At first my daughter wasn’t sure if she wanted to try it. I realized then just how little I made basic items like frosting if her only exposure in 13 years is store bought! I informed her that before once upon a time people had to make their own cakes and frosting at home before mixes and store bought frosting was available. She then tried a slice of cake and declared it was the best frosting she’d ever had! Now I make it a point to make a lot of stuff without mixes so she can taste real home cooking!


Happy Pinning!!

Peanut Butter Cup Cookies

Two things I have mentioned a once or twice or twenty is that I like to save money and reuse items I have on hand. After Christmas I got some cheap premade Pillsbury peanut butter cookie dough for less then $1 a roll. After Easter I snagged mini Reese’s peanut butter cups on clearance for $0.98 a bag then I used $1/2 coupons on top of that to pay $0.96 for 2 bags ($0.48 each)! On the package of cookie dough it give a recipe for peanut butter blossoms that uses Hershey Kisses. Well I thought why not use the peanut butter cups I got instead?

Ingredients

1 roll Premade or Homemade Peanut Butter cookie dough

1 Bag of peanut butter cups

2 tbsp sugar

peanut butter cups

peanut butter cups

cookie dough

cookie dough

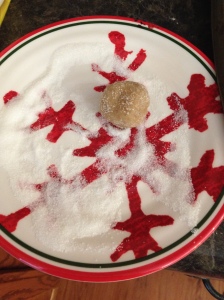
Roll cookie dough by the tablespoon into balls then roll those is sugar.

dough rolled in sugar

dough rolled in sugar

Cook for 9 minutes at 350 or whatever your dough suggests then once done remove from cookie sheet and place on flat surface or cooling rack. I lay my fresh baked cookies on the counter that is covered in paper towels. Then press a piece of candy in the center of the cookie before it cools down.

finished and ready to eat!

finished and ready to eat!


Tips By Me:

#1: I have made these with Hershey’s Kisses before and the candy gets soft quickly but as the cookies cool the candy hardens back up slightly. With the peanut butter cups however they melted significantly, mine were even frozen, before they cooled. So I would suggest freezing the candy because room temperature candy may melt completely before they can cool to harden.


Happy Pinning!

Pie Crust

Most people think making a homemade pie crust it so difficult or time consuming so they would rather buy  pre-made ones. I about fell over when I saw how much refrigerated pre-made pie crust cost! It was about $5 for 2 crusts! Buying those graham cracker and/or Oreo ones cost about $4 for 1! Pie crust is not that hard to make nor does it take a long time and it costs less the $1 if you use items you have at home.

Ingredients for Single Crust: 

1/3 cup all purpose flour

1/2 teaspoon salt

1/2 stick Crisco baking stick shortening OR 1/2 cup Crisco shortening…make sure it is cold. Chill it in the fridge for a bit before using it!

3-6 tablespoons cold water

Blend flour and salt together and set aside. If using Crisco baking sticks cut them into small cubes before using. Cut the shortening into the flour using a pastry blender, If you don’t have a pastry blender (I don’t) use a butter knife, until mixture resembles coarse crumbs about pea size.

Cut shortening into flower

Cut shortening into flower

Crust ready for water. See the pea sized lumps of shortening?

Crust ready for water. See the pea sized lumps of shortening?

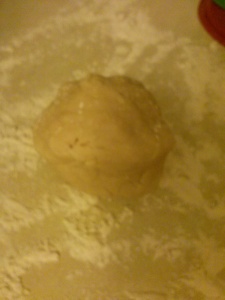
Sprinkle 3 tablespoons of water onto the flour and shortening mixture then use a fork to mix the water into the flour. Add another tablespoon of water until dough is moist enough to hold together when pressed together. Shape dough into a ball then roll out onto a floured surface until it is the desired thinness. Then fold the dough in half then pick it up and distribute it into the pie pan, make sure not to stretch the dough when unfolding it. Let it rest loosely in the pan.

Formed and ready to roll

Formed and ready to roll

Seeing if the crust is big enough for the pie pan.

Seeing if the crust is big enough for the pie pan.

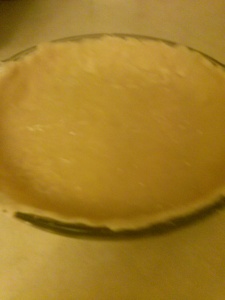
Ready to fill!

Ready to fill!

Once the crust is in the pan take a fork and gently press against the dough hanging over the edge of the pan to remove the excess. Then you are ready to fill and bake it!

Tips:

#1 For ease in rolling, wrap dough in plastic wrap the chill for 30 minutes but no more then 2 days.

#2 Instead of rolling it out on a floured surface you can place the dough between two sheets of wax paper then roll the pin on top of the wax paper.


This the recipe I use every year to make delicious homemade pumpkin pies for Thanksgiving and Christmas! Happy Pinning!

Leftover Chicken Enchiladas

Now the title of this post is rather misleading because I am not talking about eating enchiladas or reheating them the day after. I am talking about how to make chicken enchiladas from leftovers. By now, if you’ve been following my blog, you should know I love to reuse everything because it saves me time and money. One night I was very tired and didn’t feel like cooking nor did I want takeout so I grabbed a rotisserie chicken from a local grocery store. I made sides for it that night (instant potatoes and steamed veggies) and after dinner my boyfriend wanted to toss the chicken remains and I refused to let him.

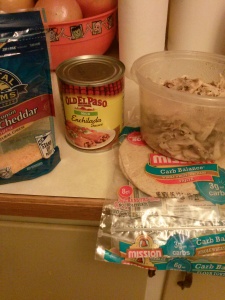
I used:

Enchilada ingriedients

Enchilada ingriedients

The next day I put the chicken carcass into a pot of water and boiled it until the meat was falling off the bones.

Boiling leftover chicken

Boiling leftover chicken

 After the chicken was done I carefully separated the cooked chicken from the stock, I placed the strainer over a pot and drained the liquid into the pot. 

De-boning leftover chicken

De-boning leftover chicken

Homemade stock

Homemade stock

Before I started making the enchiladas I took the stock and froze it for later use….I hate wasting anything including homemade stock! I then took the tortillas and made them like any other enchiladas I added a bit of chicken, a bit of cheese, and some enchilada sauce (I used the red sauce). I then lined them all up in a pan and topped with more enchilada sauce and more cheese before baking them at 350 degrees until the cheese was melted and bubbly.

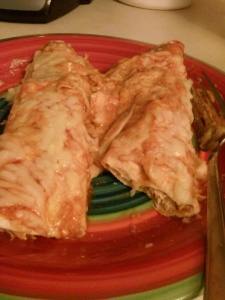
Finished product

Finished product


They turned out so wonderful! Tender meaty chicken rolled up with bubbly cheese and tasty sauce….I love them so much!

Tips from me:

#1 You can use any leftover chicken or you can use fresh chicken breasts/whole chicken…whatever you like. A few days ago (I made these months ago) I made salsa chicken (just a jar of salsa in a crockpot with 4 boneless skinless chicken breasts) for chicken tacos/taco salad. The next day I took those leftovers and made enchiladas with them I just put sauce on the outside since the inside chicken already had salsa. They turned out sooo good too…so any chicken will do!

#2 You don’t have to use flour tortillas. You can use whole wheat tortillas, corn tortillas, or gluten free…whatever you want!

Later I used the homemade stock to make chicken noodle soup. So a $5 rotisserie chicken made 3 meals for me and two of them were just out the remains that most people toss! The only think I tossed from that chicken was the bones! So whenever you have remains of any meal instead of tossing them think about how you could possibly reuse it to stretch your budget further!

Happy Pinning!!